How to Get Android Apps on a Chromebook
One of the most exciting changes Google made to its Chrome OS platform and Chromebook hardware in recent years, was the addition of Android app support. While Chrome OS could already run Chrome browser extensions, web apps, and Chrome apps, the addition of the millions of Android apps has greatly increased the platform’s value.
Most new Chromebooks come with the Google Play Store out of the box, which allows you to quickly install your favorite Android apps. If your Chromebook was introduced in or after 2017, then it’s guaranteed to run Android apps. Either way, Google has put together an extensive list of Chromebooks that have access to Android apps that you can check. If you’re not on that list, there’s still a way to do it, just skip down to the second section.
If your Chromebook already supports Android apps, start here
Step 1: First, make sure that your Chromebook is running the latest Chrome OS version. You’ll need Chrome OS version 53 or later.
Step 2: To check, tap or click on the status area or the “Settings” cog. Then select “About Chrome OS” at the top of the screen.
Step 3: In the “About” window, tap or click the “Check for and apply updates” button. If there’s an available update, it will download and install. Once it’s finished, tap or click the “Restart to update” button.
Step 4: Once your Chromebook is updated, then go to the status area and tap or click the “Settings” cog. Go to the “Google Play Store” section, and check “Enable Google Play Store on your Chromebook.” You will be prompted to agree to Google’s terms of service — tap or click “Agree” to continue.
The Google Play Store app will open, and you’ll be asked to accept some additional terms and conditions. Once you’ve done this, you can proceed to the “How to download…” step below to install your chosen apps.
If your Chromebook doesn’t yet support Android apps, start here
Switching to the developer channel puts your Chromebook at the usual risks associated with running beta or preview software. You might experience bugs, things might break, and generally speaking you’ll be largely on your own in terms of support. And here’s a huge caveat: to return to the normal stable channel, you’ll have to Powerwash your Chromebook, which is how Chrome OS says “factory reset.”
In other words, make sure that all of your data is backed up before starting this process. If you’re not comfortable with running unproven software, then remember that the Chrome OS developer channel will maintain your Chromebook on the least proven version available.
Change to the Chrome OS developer channel
Once you’ve decided to take the risk, switching your Chromebook to the Chrome OS developer channel is a relatively simple process.
Step 1: Just tap or click on the status area in the lower-right corner and select the “Settings” cog. This will open the Chrome OS settings page.
Step 2: Tap or click “About Chrome OS” at the top of the page to check your version number and current channel.
Step 3: Tap or click “More info…” to expand the page and dig down into the details of your Chrome OS installation. Click on the “Change channel…” button to open a dialog where you can select a new channel for your Chromebook.
Step 4: You have two options, “Beta” and “Developer – unstable.” Select “Developer – unstable” and read the warning notice carefully. If you’re sure you want to proceed, tap or click the “Change Channel” button.
Step 5: Chrome OS will proceed to update your device and put it into the developer channel. Wait for it to finish, and then tap or click the “Restart” button.
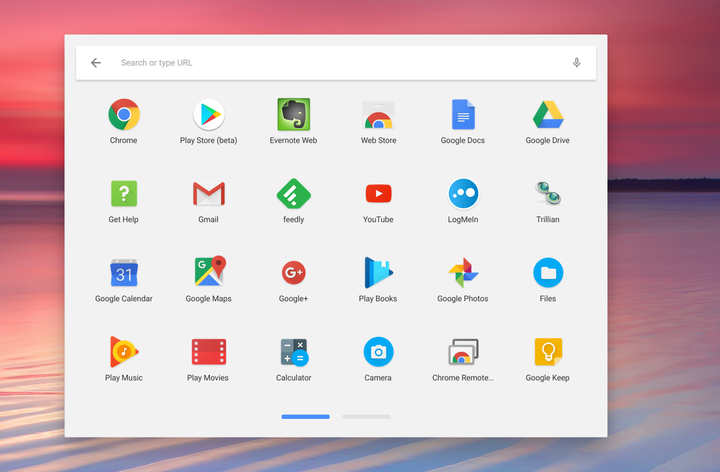
Step 6: Once your Chromebook reboots after applying the update to move you to the developer channel, log in as usual. You’ll now have the Google Play Store (beta) app in your apps tray.
Step 7: Open the Play Store app, and move through the terms of service, the backup options, and the request to allow Google to gather anonymous location data.
Step 8: If you’re okay with everything, tap or click the “Agree” button. The Play Store will be set up and you will be asked to accept the Google Play terms of service. Tap or click “Accept” to continue.
The Play Store will open, and you may be already logged in if your Android account is the same one used to log into your Chromebook. If you’re asked to set up your Play Store account, then follow the instructions.
Download and install your Android apps
The process of installing Android apps from the Play Store on a Chromebook is similar to doing so on an Android device. You’ll find that the Play Store will be formatted as on an Android tablet. Other Android apps will work the same way — an app will take on the tablet user interface if the developer enabled it. Otherwise, they’ll scale to the Chromebook’s larger screen.
Step 1: To install an app, just locate it in the Play Store, tap or click on its entry, and the tap or click the “Install” button.
Step 2: The app will start installing and will pause to ask about any required authorizations. Accept them if requested. Once the app is installed, it will show up in your Chrome OS apps tray. Tap or click on its icon to run it.
You can manage Android apps like other Chrome OS apps, with the same window controls in the upper right-hand corner and the arrow key in the upper left-hand corner to allow you to navigate through the app.
Note: Some apps may be “instant apps,” which means you can open and try them out before downloading them. This is a great way to test out how an Android app functions before you choose to install it or not.
Android app drawbacks
The quality of your Android app experience will vary based on your Chromebook. For example, Chromebooks with touchscreens, and particularly 2-in-1s, will provide the best Android app experience. System components like accelerometers will make playing games and other tasks more enjoyable as well.
While they’ve come a long way since they were first introduced, that doesn’t mean every Android app will run well on your old, outdated Chromebook. You’ll need to experiment. While they should work well on newer devices, your experience will likely vary.